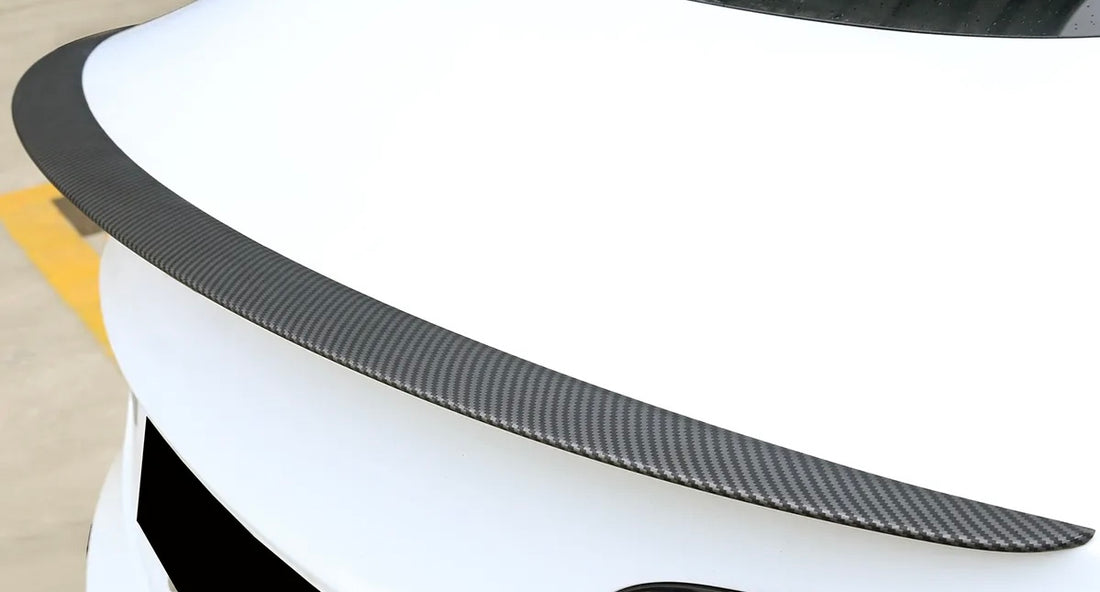
How to Install the Clevisco Carbon Fibre Finish Spoiler for Tesla Model 3/Y
Congratulations on Choosing Clevisco!
Installing your Clevisco carbon fibre finish spoiler on your Tesla Model 3 or Model Y is a straightforward process that any enthusiast can handle. However, it requires careful attention to detail and patience to ensure a secure fit that lasts.
Step-by-Step Installation Guide:
1. Prepare the Surface:
Start by thoroughly cleaning the area where the spoiler will be installed. Make sure it is completely dry and free of dust. You may need to wipe the area multiple times with a dry cloth to ensure no contaminants remain.

2. Dry Fit the Spoiler:
Without removing any protective stickers, place the spoiler on the rear of your Tesla to check the fit. Ensure the spoiler sits perfectly against the car, moving it left, right, top, and bottom to achieve a snug fit. This step is crucial to avoid gaps that could allow water to seep in, potentially leading to premature failure.

3. Mark the Position:
Use tape from the spoiler packaging or any household tape to mark the edges of the spoiler and its center. Temporarily secure the spoiler using external tape (not the adhesive on the spoiler) to confirm it fits tightly and snugly.


4. Apply Adhesion Promoter:
Open the adhesion promoter included in the package and carefully apply it to the rear of the car where the spoiler will be attached. This liquid is not safe for consumption, so be sure to wash your hands afterward and wear gloves for added safety.

5. Allow the Promoter to Dry:
Wait at least 10 minutes for the adhesion promoter to dry. This product is safe for your car's paint and will become tacky over time. Avoid touching the treated area to prevent contamination.
6. Attach the Spoiler:
Once the adhesion promoter is dry, remove the protective stickers from the double-sided tape on the spoiler. Align the spoiler with the tape markers you created earlier and press it firmly into place.

7. Ensure a Secure Fit:
Press down firmly on all corners to ensure the spoiler adheres snugly to the car. Any mistake here could allow water or moisture to seep in, leading to early failure of the spoiler.

Post-Installation Care:
Avoid Washing: Do not wash your car for 48 hours after installation. Avoid letting any water enter the spoiler during this period. A lightly damp cloth is sufficient to keep the spoiler clean.
Optional Protection: For added protection, consider applying a ceramic coating at a detailing shop. Choose either a matte or glossy finish, depending on your preference, to protect and seal the spoiler completely.


